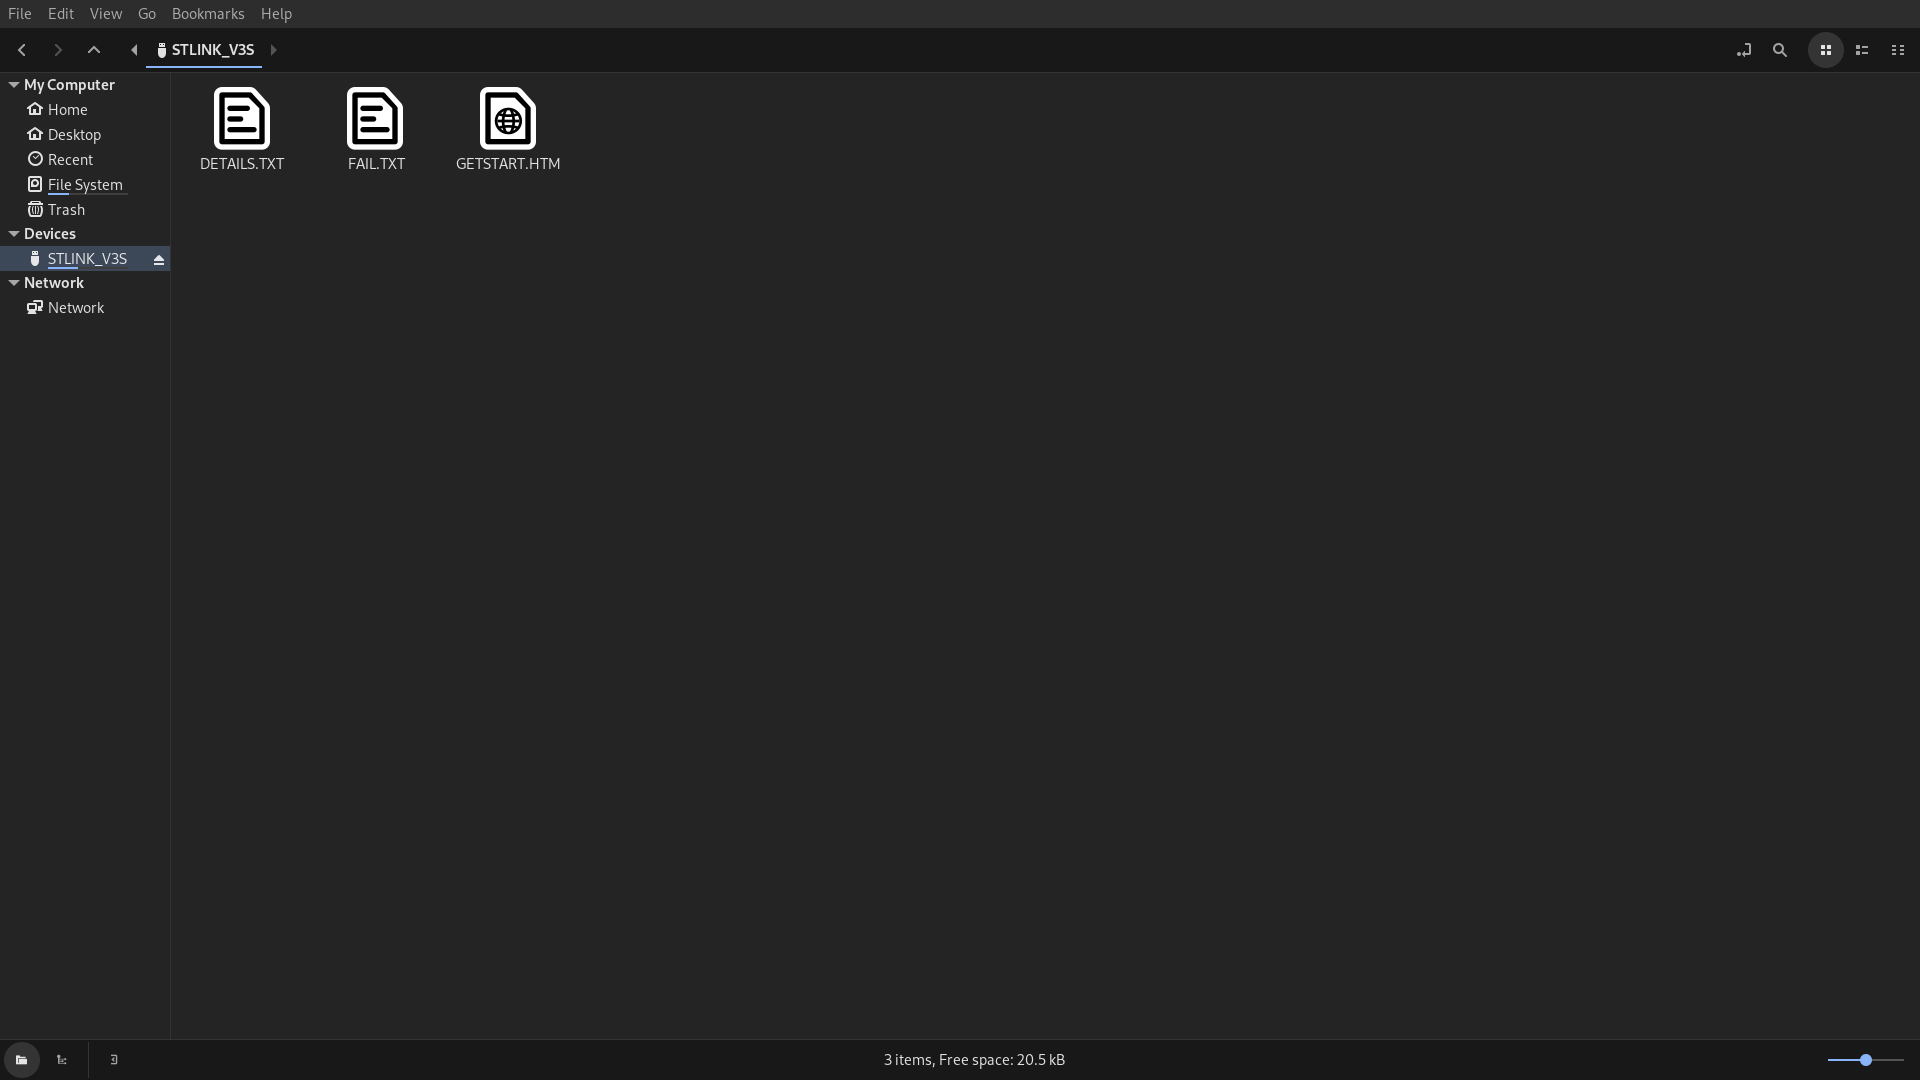
The ST-LINK probe can work similarly to a USB storage device, where you can simply place data on from your computer. When you place a binary executable on it, it will automatically program it onto the Generic Node Sensor Edition. This technique is suitable for anyone that does not want to install any extra software.
Note:
Drag-and-Drop functionality is not available for early ST-LINK versions or programmers that run older firmware. If your ST-LINK does support this feature, then it will immediately show itself on your computer as a USB storage device after plugging it in.Steps to reproduce
USB mounting can be done either by using a file manager or a command-line interface.
Using a file manager
- Mount the ST-LINK probe. Windows, Mac and most Linux distributions will mount the device as soon as it is plugged in. If not, your file manager will most likely mount it when you try to open the drive. If you open your file manager, you should be able to see a device named STLINK_V3S (or similar) on the left - check if you have access to the contents inside.

-
Navigate to the location of your software’s binary executable and copy it to the ST-LINK drive.
-
(Optional) If you want to safely plug out the ST-LINK probe, you can right click on the device and choose Eject, Unmount or similar.
Using the command-line interface on Mac OS & Linux
- Mount the ST-LINK probe. Mac and most Linux distributions will mount the device as soon as it is plugged in. If you know where the device was mounted, you can immediately proceed to step 2.
If you are unsure if the ST-LINK probe was mounted correctly or where it was mounted, run the following command:
lsblk
This should be producing an output similar to:
NAME   MAJ:MIN RM   SIZE RO TYPE MOUNTPOINT
sda      8:0    0 238.5G  0 disk
├─sda1   8:1    0   500M  0 part /boot
├─sda2   8:2    0   230G  0 part /
└─sda3   8:3    0     8G  0 part [SWAP]
sdb      8:16   1   804K  0 disk
One of the records will be showing the name of your drive located in the /dev folder. MOUNTPOINT column provides info about the directory where the devices are mounted to. If you are not sure which record contains info for ST-LINK probe, you can unplug the probe and run the command again, then see which record is missing.
If the MOUNTPOINT is empty, you will have to mount this drive manually. An easy tool you can achieve this with is udisks2. There are a few alternatives packages like usbmount, pmount, etc..
When using udisks2, run this command:
udisksctl mount -b /dev/<your-drive-name>
The device will be mounted to /run/media/$USER/STLINK_V3/.
Using udisks2 or alternative packages is easier but not a must - you can also use the following command:
mount /dev/<your-drive-name> <mounting-point>
However, you will need root privileges (in most cases) to run this command. You can use the /mnt or the /run/media/$USER/STLINK_V3 directory as a mounting point for instance.
- Copy the files to your mounting point:
cp <binary-file-location> <mounting-point>
- (Optional) The ST-LINK probe might unmount itself after programming the binary. If that is not the case, or you have mounted the device but you did not want to program the binary, you can unmount it using:
udisksctl unmount -b /dev/<your-drive-name>
Or:
umount /dev/<your-drive-name> <mounting-point>